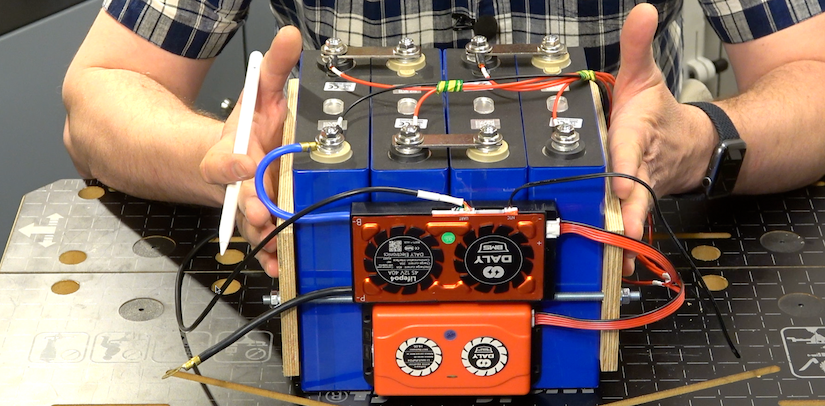
Every decision is preceded by some event and every idea is the result of a need. In the case of the “Portable Power Source for Astrophotography” project, it was exactly the same. When, after many weeks of waiting, a cloudless weekend night finally arrived, it turned out that the place where I usually set up the equipment was unavailable. Dependence on the grid power completely precluded changing the place. Outdoor trip with a telescope ended in great disappointment. This was the moment when the idea of becoming completely independent from the mains power supply was born.
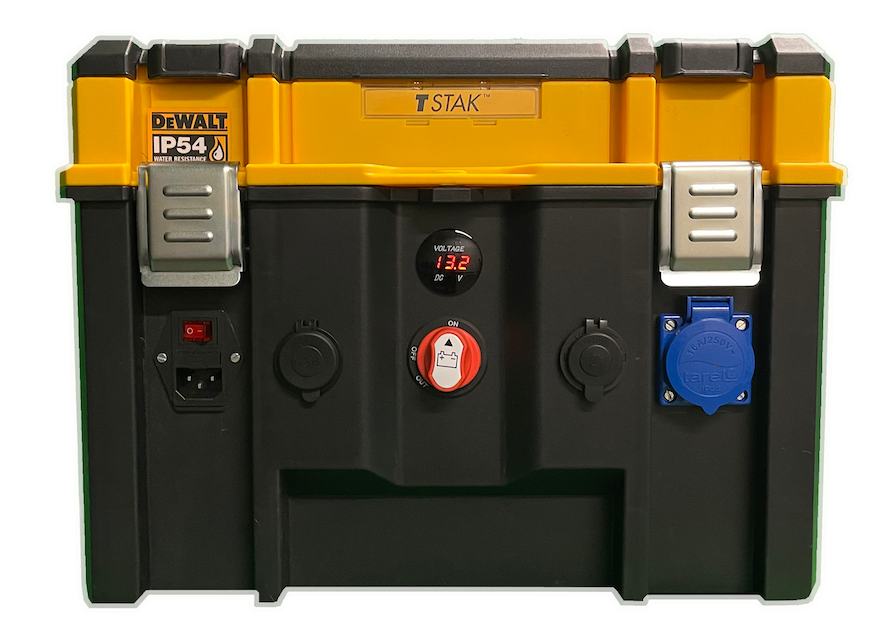
Toolbox DeWALT model TSTAK DWST83343-1
Project assumptions
- Uninterrupted and stable power supply to keep all astro devices working all night long
- maximum, continuous current consumption – 10 amps
- the duration of the night session – 10 hours
- Multi – rechargeable while maintaining long life battery
- uninterrupted, stable voltage above 12V throughout the night
- Possibly small box dimensions while keeping the weight of the entire system as low as possible
- the choice of a lightweight battery with a small size and high capacity
- compact and durable transport box
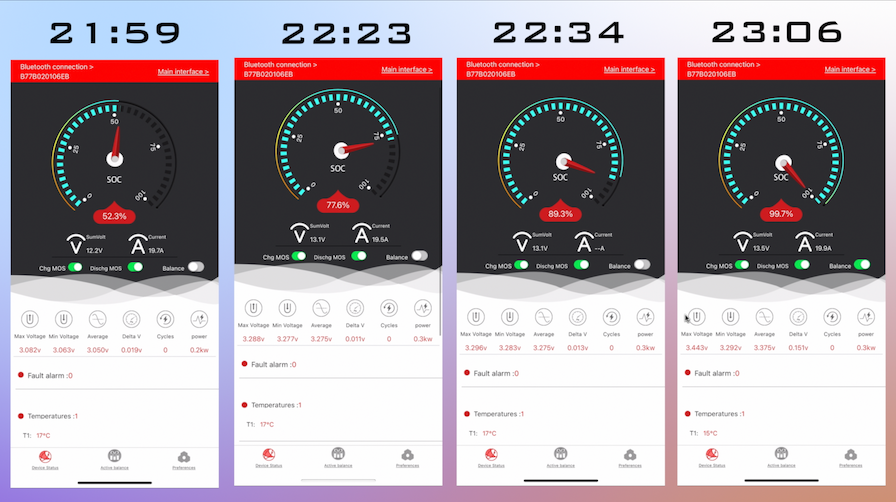
- Voltage indicator and Bluetooth communication for continuous battery status monitoring
- remote control of the battery status using a smartphone
- Different types of power sockets: 220V, 12V, USB 5V
- 220V for connecting the PrimaLuceLab 180W power supply and other 220V devices
- 12V – cigarette lighter socket
- 5V – USB power socket for smartphone charging
- Integrated and efficient battery charging system
A lot of requirements? A lot, because the power supply system is supposed to be the basis for the proper operation of the astrophotography set, it is supposed to be handy and reliable. Components selection should begin with determining the power requirement. I will use my devices as an example, so remember to refer to your equipment when determining power consumption. For the calculation I will take max values.
ASSUMPTION 1 – Determining the current demand
- heaters (main and guiding telescope) – 3A
- QHY268M camera with cooling – 2.5A
- iOptron CEM70EC mount – 1.5A
- Eagle 4 PrimaLuceLab computer – 1A
- others (filter wheel, focuser…) – 1A
The calculated maximum current consumption is 9A. Assuming a certain safety margin (10 – 20%), I determined that the safe level of current consumption (one that will not be exceeded at the peak moment) is a maximum value of 10A.
ASSUMPTION2 – Battery work duration at night session
I assume that a night session does not last longer than 10 hours and the battery capacity must be sufficient to operate for a maximum of one session.
The above assumptions are sufficient to calculate the battery capacity for continuous operation at a load of 10A for a period of 10 hours. Bearing in mind that as the battery drains, the voltage will start to drop slowly, so I took another safety margin of 20% of the power requirement.
10h x 10A = 100Ah + 20% = 120Ah
Now that we know the current demand of our devices, it’s time to choose the right battery. One of the basic assumptions is the mobility of the entire system, i.e. compact size and relatively low weight of the unit. The above criteria basically clearly defines the type of cells and they are certainly not typical car batteries. Therefore, our search should be limited to lithium-ion cells. Lithium-Iron-Phosphate (LiFePO4) cells seem to be the best choice. This type of battery provides small size, relatively low weight while maintaining high capacity and current efficiency.
Li-Fe-PO4 Cells
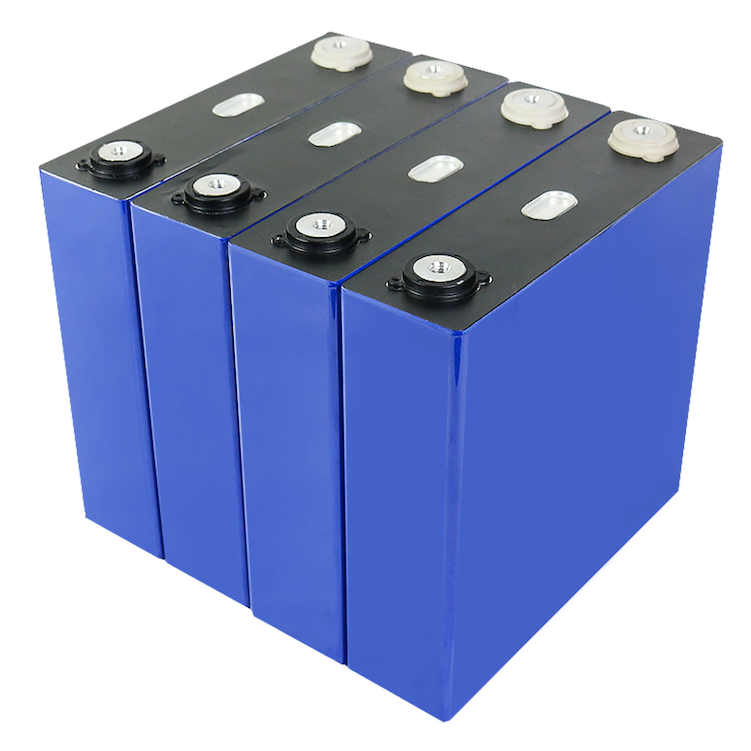
Nominał capacity: 120AH
Nominal voltage: 3.2V
Max. charging voltage: 3.65V
Min. discharge voltage: 2.5V
Recommended charge current: 0,5c
Max. charge current: 1C
Recommended discharge current: 0,5c
Max. discharge current: 3C
Size (L * W * H):173.9*48*170mm
Weight: 2.95 ± 0.1kg
Life cycles (80% DOD): 6000
Temperatura ładowania: 0 ℃ ~ 55 ℃
Temperatura rozładowania:-20 ~ 55 ° c
Terminal size: M6
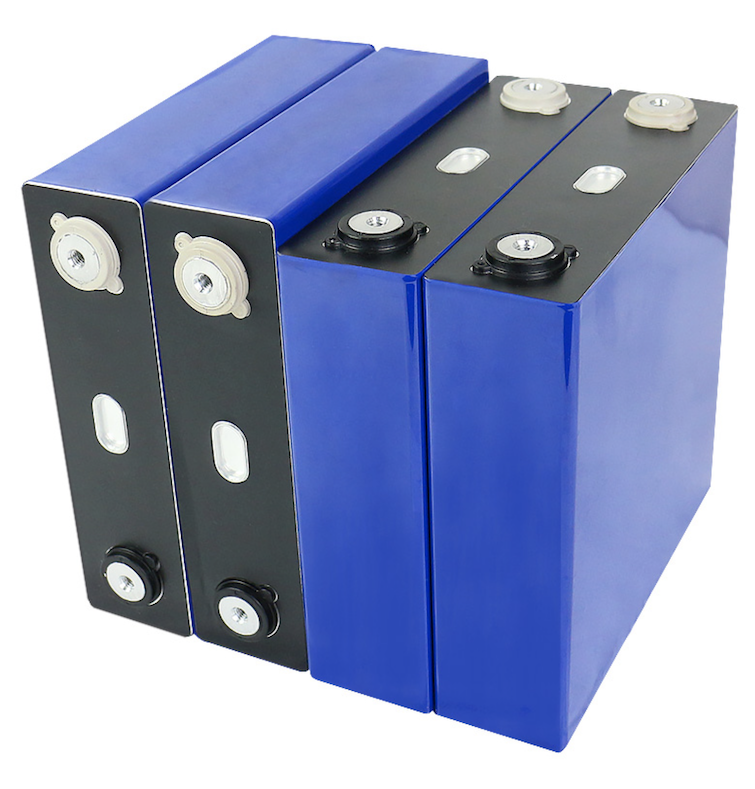
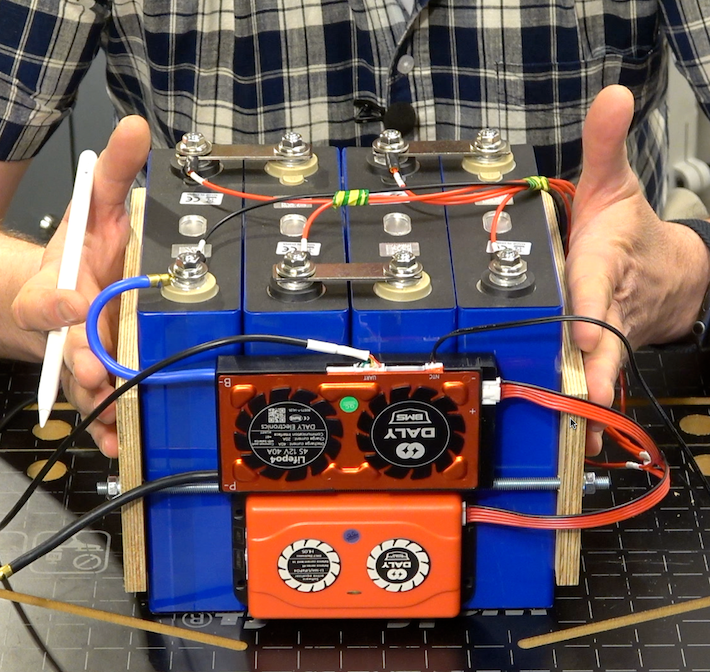
A package of four cells are cube shaped with sides of about 20 cm and a mass of 12 kg. Such battery parameters certainly meet the mobility criteria. Please note that the cells are connected in series!!! Only in such a system of connecting individual cells, will battery be able to provide a voltage of 12V (nominal 12.8V) while maintaining a nominal capacity of 120Ah.
SAFETY FIRST
REMEMBER, this is very important – the use of lithium-ion batteries without any protection is dangerous!!! You must not exceed the specified maximum and minimum values such as maximum charge voltage (3.65V), minimum discharge voltage (2.5V) and maximum or minimum currents for cell charging or cell discharging respectively!!!
The key safety element is the BMS – Battery Management System. It is a device that continuously monitors all key parameters of the battery’s operation, protecting it from exceeding the maximum parameters. Kay function of BMS:
- Under-voltage protection
- Over-voltage protection
- Over-current protection
- Temperature protection
- Short-circuit protection
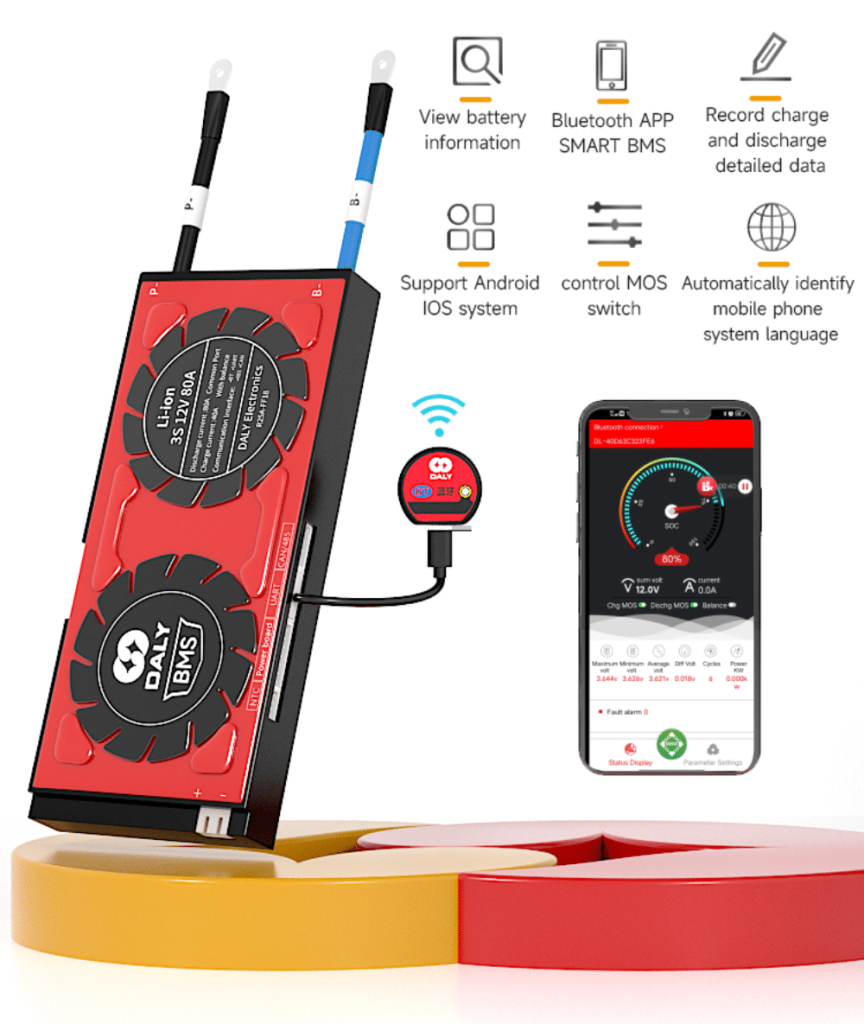
Source: DALY.COM
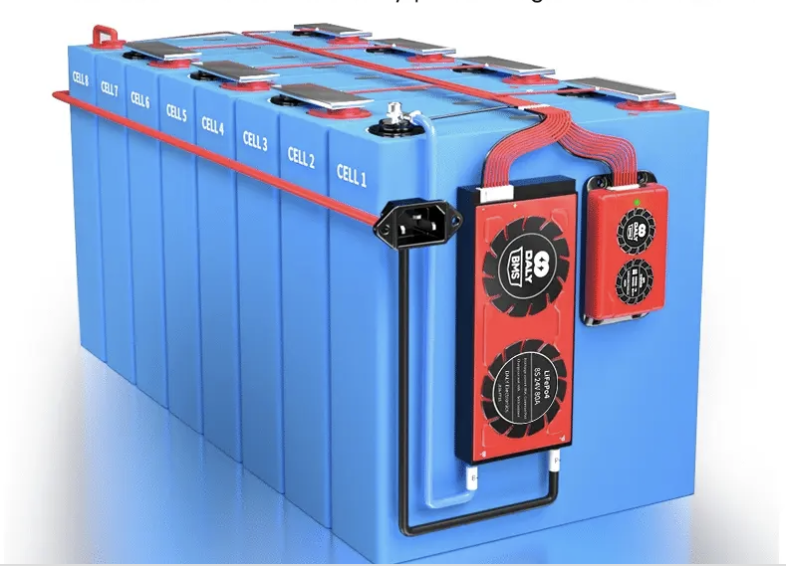
The BMS is equipped with a passive balancer, i.e. a system whose task is to equalize and maintain an even distribution of voltage between individual cells. The name “passive” comes from the applied voltage balancing solution – electronic passive elements such as resistors are used. If one of the charged cells in the battery has a higher voltage than the others, then the BMS will “try” to equalize the voltages between the cells by flowing current from the highest voltage cell through the balancer resistors. The current flowing through the resistors of the passive balancer causes the resistors to heat up – the electrical energy is converted into thermal energy. The process will continue until the voltage between the cells is equalized. This solution is inefficient due to the waste of energy and long battery charging time.
With such large capacities (120Ah), it is worth using an active balancer
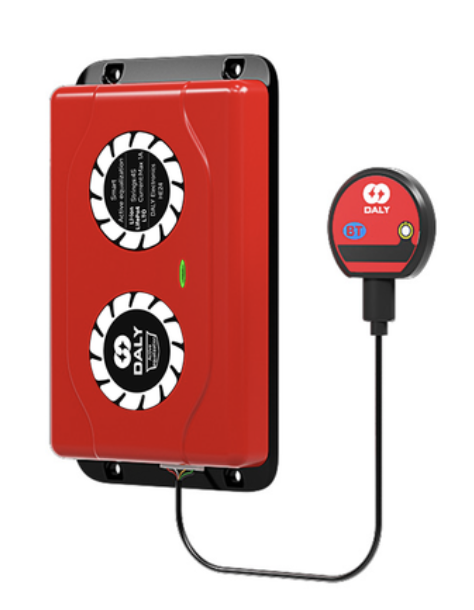
Source: DALY.COM
The active balancer is equipped with active electronic components such as ICs and capacitors. This system properly manages the flow of current between the cells during the charging process. With a current capacity of max. 1A, the voltage equalization process runs very smoothly. This is the most effective way of equalizing the voltages of individual battery cells.
Source: DALY.COM
BATTERY CHARGER / VOLTAGE CONVERTER
The last elements of the system are peripheral devices – a battery charger and a voltage converter (12V to 220V voltage conversion)
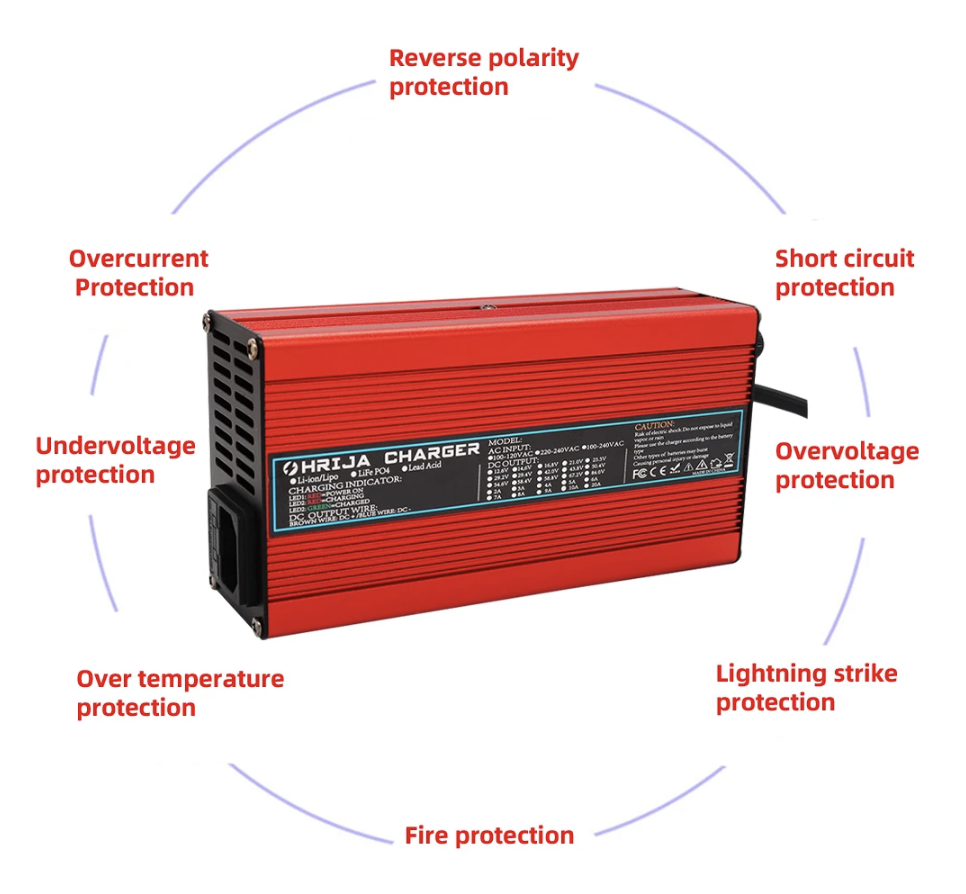
In the project I used a 20A charger designed to charge LiFePO4 batteries with a voltage of 14.6V. The device is equipped with a cooling fan and a number of safeguards to ensure safe operation. In addition to the basic voltage and current protection, there is also a temperature protection, which is an important safety element when charging the battery – charging is a process that takes several hours, so our presence during charging will not always be possible. It is worth being sure that nothing bad will happen during this time.
Source:OHRIJA Official Store
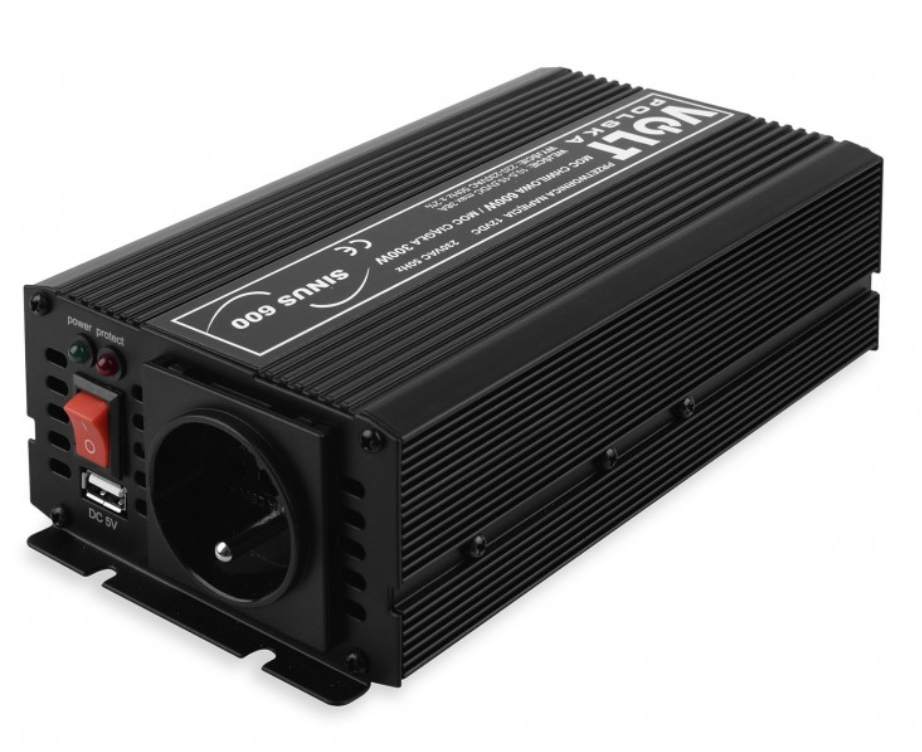
The voltage converter in the portable power supply system is an important element, although ultimately it depends on individual choices and requirements. The astrophotography set-up requires 12V, so the devices can be powered directly from the battery. As I mentioned, its depend on individual needs (12V or 220V). However, use the original 180W PrimaLuceLab power supply connected to a 220V socket is one of the assumption of this project. That is why I decided to use voltage converter. I decided on this solution for security reasons. From the energy efficiency view point, voltage converter consumes some portion of energy and that is why this kind of solution is less effective. However, with such a large battery capacity (I assumed a large safety margin of power), this is not a major problem. An additional advantage of this solution is access to 220V in a place where the mains electricity is unavailable (you can, for example, charge a computer).
Cost Summary
Of course, the most convenient and the cheapest way is to power the astrophotography set from the mains socket. However, if there is a need to have your own power source, then you have to take into account considerable expenses. The cost of this project is about 500 EUR, taking into account the basic components listed below and mounting elements such as cables, connectors, sockets, etc. This solution is not cheap, but such a portable power source ensures constant and safe power supply for all astro-photographic devices whose price is often incomparably higher.
-
Four LiFePO4 cells 300 EUR
LiFePO4 cells with a capacity of 120Ah and a voltage of 3.2V (AliExpress)
-
LiFePO4 battery charger 55 EUR
Dedicated LiFePO4 20A 14.6V charger (AliExpress)
-
Voltage converter 12V / 220V 60 EUR
Voltage converter with a capacity of 300W continuous power consumption (local market)
-
DeWalt toolbox 50 EUR
Toolbox TSTAK DWST83343-1 (44cm x 32cm x 33cm)
