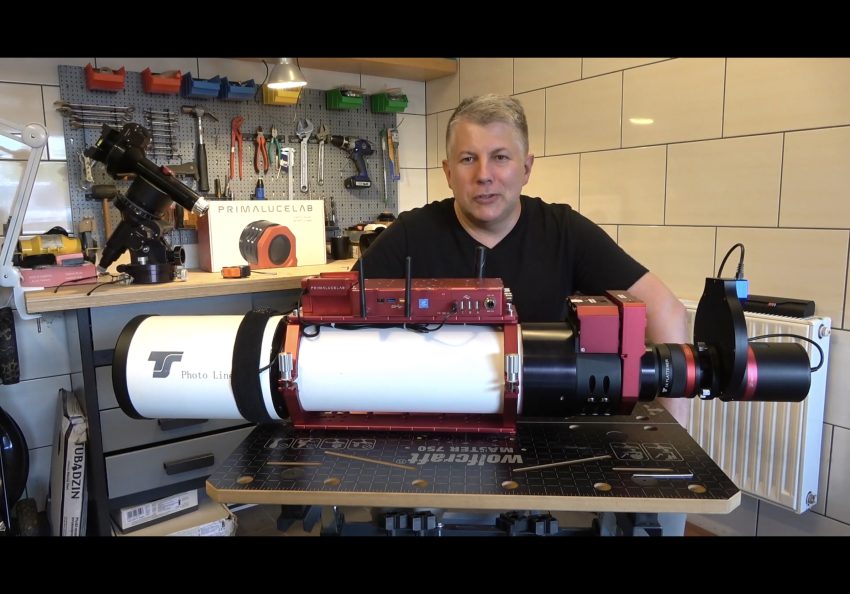
Those who have fallen in love with astrophotography know very well that taking one DSO image is a job that can take several nights outdoors in weather conditions depending on the season. During an astro session, there are many things that can go wrong, ranging from minor technical problems to a sudden change in weather. There are also things that we have influence on, but sometimes due to the lack of proper control, they can ruin the effects of many hours of work. Image focus is a good example of a parameter that is responsible for the quality of the final photo and which we can fully control. The focus point slightly changes during the night due to the temperature fluctuation or filter changes (this does not apply to parfocal filters). It is not enough to set the telescope focuser once at the beginning of the session and indulge in the pleasure of collecting material. Regular checking of sharpness and making continual adjustments is necessary.
The focus can be set in two ways – manually or automatically. The manual method is nothing more than adjusting the focus point using the focuser knob, preferably using a Bahtinov or Duncan mask. However, it is the most time-consuming and least effective method. I know, I know … soon someone will say that it is not entirely correct because he has been regulating the sharpness for years in this way and the final quality of the image is quite good. Of course, I know that it is possible and good results can be achieved, which does not change the fact that compared to automatic sharpening, it is still a time-consuming, and ineffective way 😉. Therefore, the automation of this process by means of camera and motofocuser is a fantastic alternative, especially as the robotic systems become cheaper and available to everyone. In this post and in my YouTube video, I present the advanced ESATTO 4 “robo-focuser and the ARCO 3” camera rotator / field derotator from PrimaLuceLab.
Credit: PrimaLuceLab
Esatto 4 ”is an automatic Crayfird focuser type with draw tube length from 0 to 35mm. The focuser is equipped with ball bearings around the entire circumference which, combined with a relatively small operating range of the lift, minimizes the possibility of even the slightest deflection. The design is very compact and completely free from any play. If we add to this the resolution of which the ESATTO 4” works – 0.04um (0.00004mm) / step and with load capacity up to 10kg, we get a combination of parameters that place ESATTO focusers at the forefront of their class. The manufacturer also thought about equipping ESATTO with a WiFi module, thanks to which focuser control does not have to be limited only to work with a computer. There is no problem to connect it via smartphone. It is a convenient solution for visual observations or astrophotography with a camera.
Most important parameters
Total load capacity
Draw tube travel
Focuser resolution
Total number of steeps
built-in width
Weight
up to 10 kg
0 – 35 mm
0.00004 mm
875 000 steeps
65 mm
2 kg
Adapters selection
For moto-focusers (stepper motors) installed in place of the micrometer knob of the manual focuser there is no needs to do any measurements or calculation. When installing a stepper motor as a drive in the system, nothing changes except that the focuser is regulated by the motor instead of by hand.
Installation of the ESATTO focuser (35mm) differs significantly from the stepper motors drive system described above because it requires the removal of the original manual focuser supplied with the telescope. Taking into consideration relatively small focusing range of the ESATTO 4″, distance between the camera sensor and the edge of the telescope in focus point must be carefully measured. That measurement is required to select the appropriate adapters that will allow you to set the telescope in the original focus point.
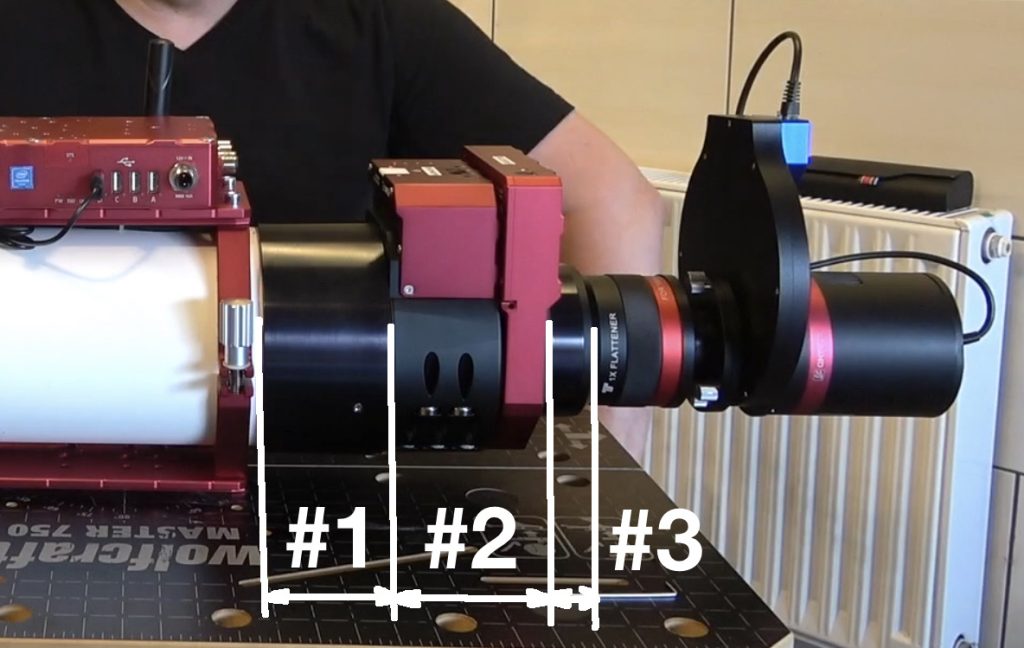
To do this, the telescope must be set in focus position as during the astro session. The measurement is made depending on whether there is a field corrector in the optical system or not. If the corrector is present in the optical train then we have the first important information – the distance of the camera sensor to the corrector is fixed (in my case it is 55mm [#2]). So in such a situation we are only interested in the distance from the edge of the telescope to the edge of the corrector (in my case it is 204mm [#1]). In the absence of a corrector, simply measure the distance between the edge of the telescope and the camera sensor.
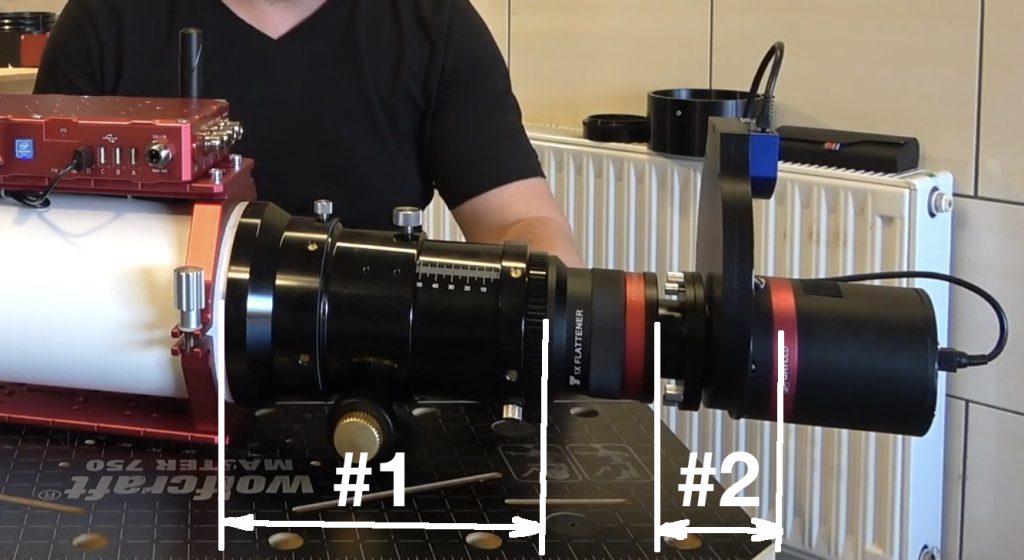
The last important thing before starting the calculation is the draw tube travel range of the ESATTO. To be able to set focus correction, the focuser must be able to move on both sides of the focus point. Therefore, the focus point should be set approximately halfway on the length of Esatto draw tube. The length of focuser draw tube is 35mm, so half of it is 17.5mm. It does not have to be exactly equal to half the length, so to simplify the calculation and easier selection of adapters, I used a value of 16mm.
After installing the ESATTO and ARCO the adapters selection is determined by the value measured earlier (# 1). On the manufacturer’s website you can easily find detailed technical information, which shows that the total width of the ESATTO 4 “and ARCO 3” set is 93mm, so taking about half length of the draw tube into account (16mm), we will get …
204 mm – (93+16) = 95 mm
T95 mm is the distance within which two adapters should be selected. I wanted the first adapter mounted on the telescope side to be as long as possible. The maximum adapter width that can be ordered from PreciseParts online store is 75mm – so this is the width of my first adapter.
Then the calculation is simple, because …
95 mm – 75 mm = 20 mm
As a result of the above calculations, my adapters are 75 mm i 20 mm.
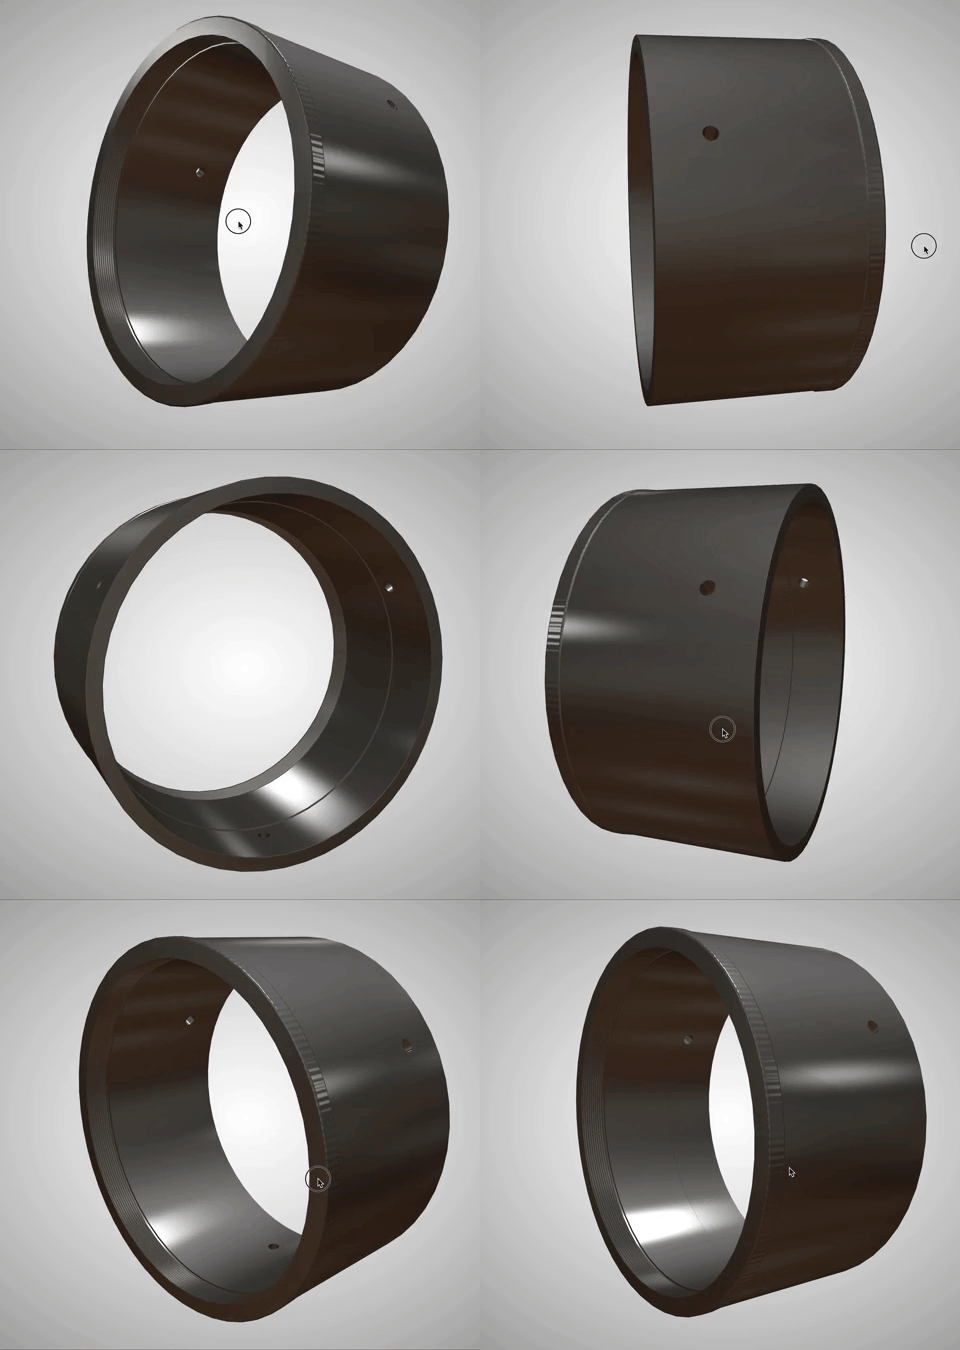
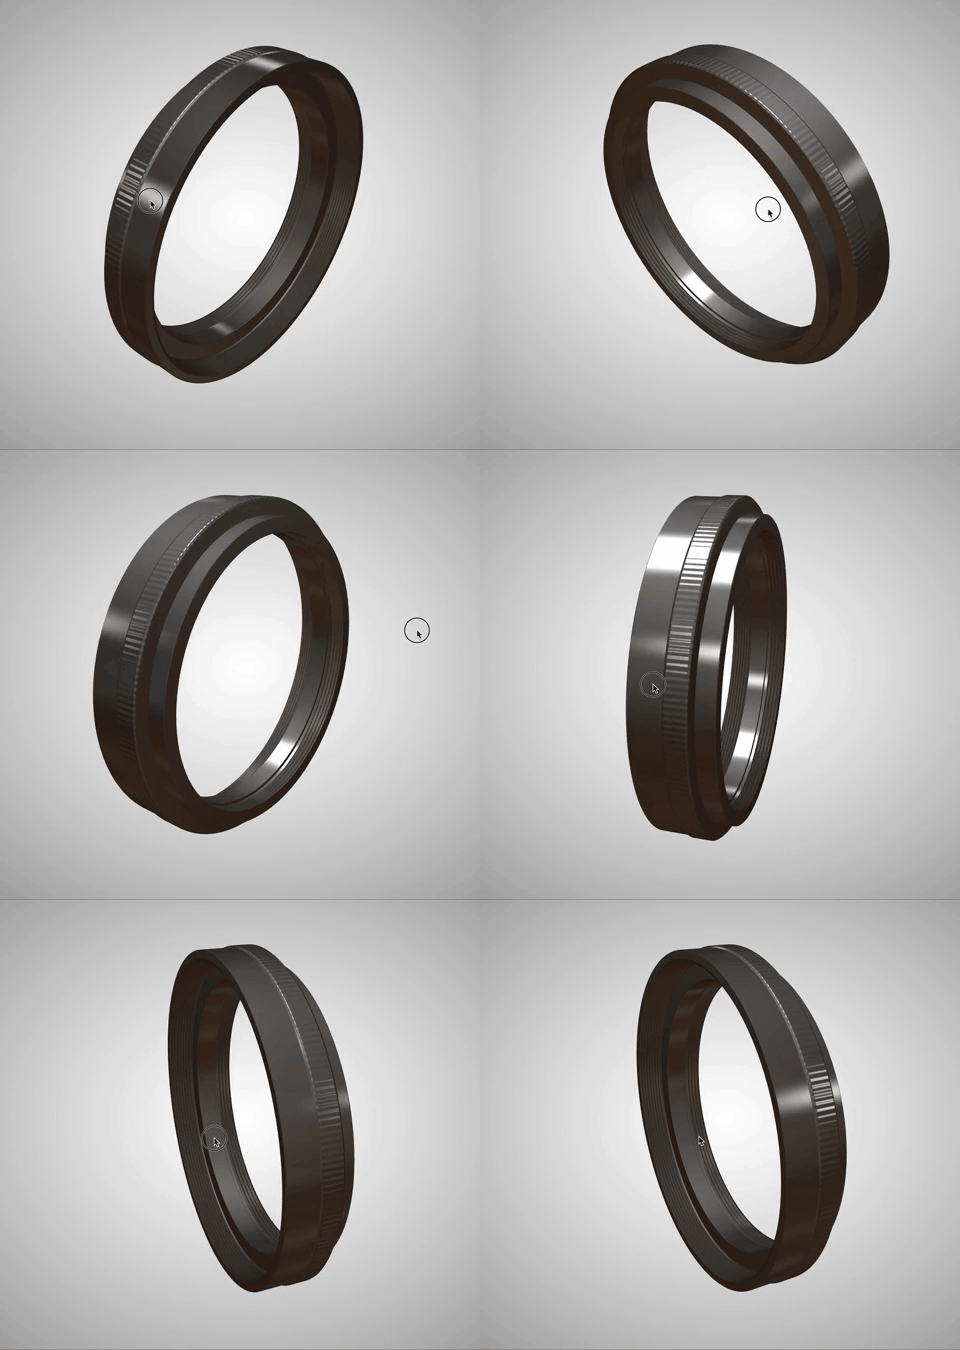
Let’s summarise the measurements by looking at the photo below:
#1 Adapter no. 1 with 75mm length connects the telescope body with the Esatto Focuser
#2 Esatto 4 – Arco 3 set plus half length fo the focuser draw tube 16mm gives 109mm.
#3 Adapter no. 2 with 20mm length connects the Arco rotator with the Field corrector
Mounting the ESATTO focuser is not a challenge in itself, but as you can see, the selection of appropriate connectors / adapters requires time and additional financial outlays. In return, however, you can enjoy a beautifully made, top-class and extremely precise device.
Clear Sky !!!
